Asset Management
Overview:
The Asset module consolidates the conversion data of various "sub-assets" and supports multi-dimensional report views. You can also define and configure key events to be used as conversion goals.
Data Access:
You can view the events you defined with daily granularity and flexibly select existing data items for analysis.
Asset Types:
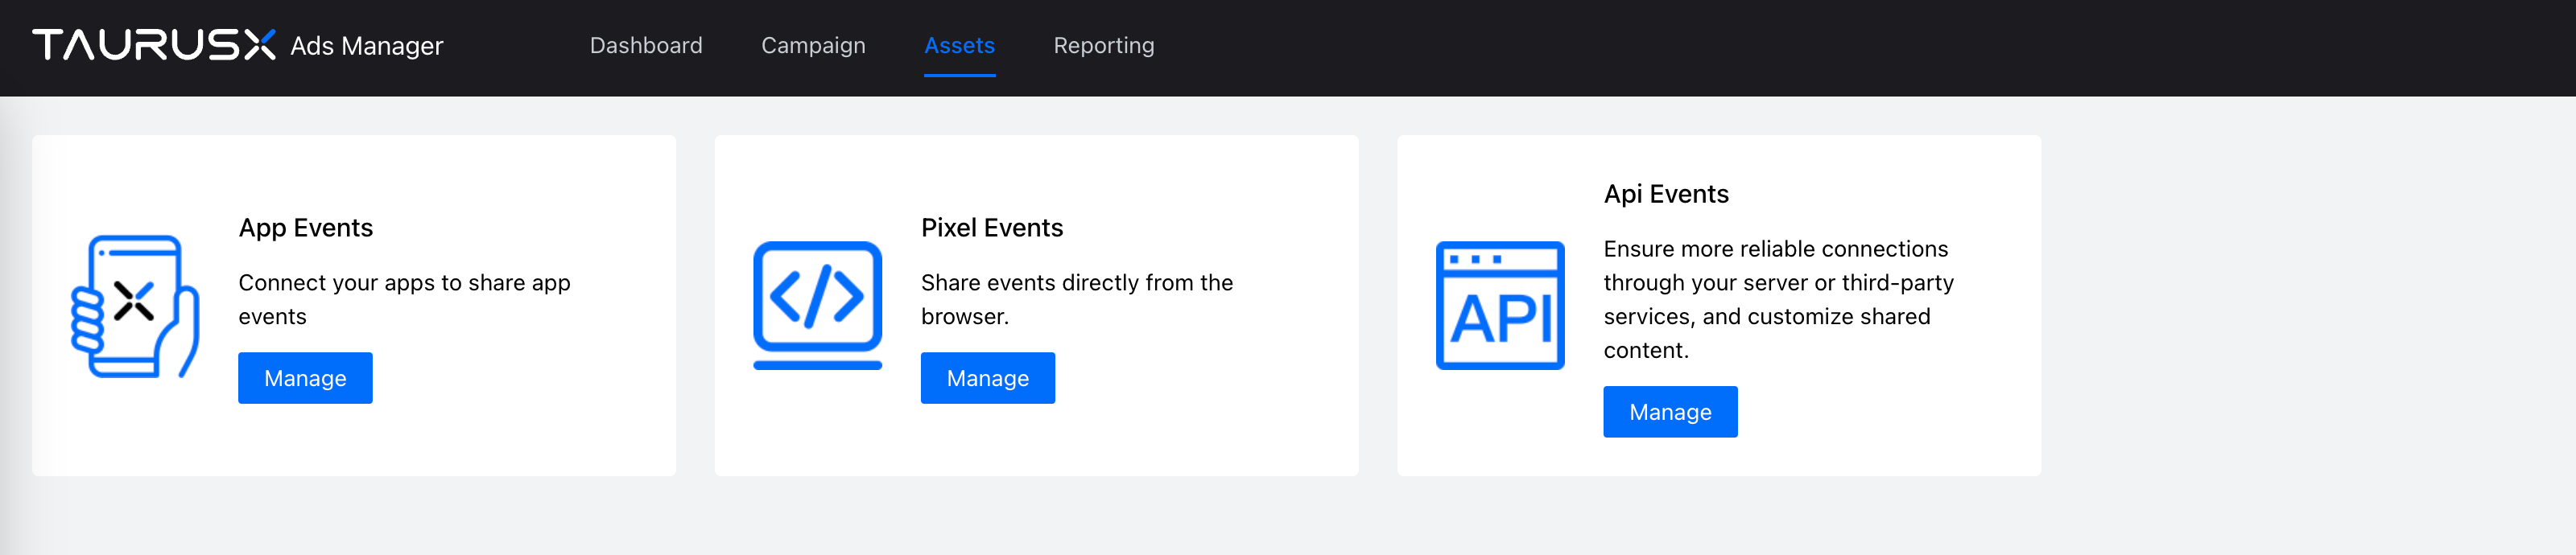
The TaurusX Advertising Management Platform supports the following three types of event assets:
- App Events
- Pixel Events
- API Events
Creating an App Event
Steps:
- Go to Assets > Events, and click Manage under the "App Events" section.
- Click Create New App, choose either iOS or Android, and provide the app store link. Then click Next.
- Select your tracking partner and fill in the click tracking link and impression tracking link (optional).
- Create one or more events (up to 5) to track user actions, which can be used as bidding conversion points.
- Please select '+ Custom Event' if the event names you are using are not included in the left column of our Standard Events list below.
- Click Confirm to complete the app setup.
Supported Standard Events in TaurusX
| Event Type | Description |
|---|---|
| registration | Registration |
| launch_app | Launch App |
| app_open | App Open |
| login | Login |
| add_to_cart | Add to Cart |
| customization | Customization |
| start_trial | Start Trial |
| search | Search |
| view_content | View Content |
| add_to_wishlist | Add to Wishlist |
| complete_tutorial | Complete Tutorial |
| achieve_level | Achieve Level |
| unlock_achievement | Unlock Achievement |
| finish_trip_success | Finish Trip |
| platform_auth_success | Auth Success |
| checkout | Checkout |
| purchase | Purchase |
| term_view | Term View |
| term_click | Term Click |
| ad_view | Ad View |
| ad_click | Ad Click |
| revenue_estimated | Revenue Estimated |
| revenue_finalized | Revenue Finalized |
| initial_estimated_revenue | Initial estimated revenue |
| estimated_revenue | Estimated revenue |
| purchase_a | Purchase A |
| purchase_c | Purchase C |
Creating a Pixel Event
TaurusX Pixel is a snippet of code embedded on your website that tracks user behavior (i.e., events) and records conversions.
Steps:
- Go to Assets > Events, and click Manage under the "TaurusX Pixel Events" section.
- Click Create Pixel Event, and name your Pixel.
- Select the conversion category and event(s). Multiple events are supported. Custom events are also allowed.
- Click Confirm to complete creation.
- Copy the base code snippet and insert it into the
<head></head>section of your site. Then insert individual event code snippets into the appropriate pages. - Use the testing tool to verify if the Pixel is installed correctly.
You can access the Pixel code and edit your events anytime in the settings.
Creating an API Event
API Events are triggered via your server or third-party services to provide a more reliable and flexible method for event tracking.
Steps:
- Go to Assets > Events, and click Manage under the "API Events" section.
- Click Create API Event, and name the event.
- Select and configure multiple custom events to track and attribute conversions.
- Click Confirm to complete creation.
Search Arbitrage
Search Arbitrage is an advertising strategy where low-cost search traffic is acquired and monetized at a higher price on another platform, earning the price difference as profit.
If you’re using API events for Search Arbitrage, please follow these setup requirements:
- Enable the "Search Arbitrage" flag: This distinguishes the API event as a Search Arbitrage type, allowing the system to classify it correctly.
- Auto-load default event template: Once the flag is enabled, the system will preload 6 standard events and offer 2 optional events to streamline the setup process.
This ensures your API data structure aligns with Search Arbitrage tracking standards, improving accuracy and efficiency in conversion tracking.