Campaign
The Campaign module is the core area for ad delivery operations. It includes creating ads, adjusting statuses, setting budgets, managing bids, and supports real-time performance monitoring and optimization.
WARNING
Before creating ads, you must complete asset creation. Without assets, you won’t be able to save your ads.
I. Create a Campaign
A Campaign is the first level of the ad structure. It defines the objective, campaign name, and budget limits.

Step 1: Set Promotion Objective
TIP
The promotion objective must match the asset type selected during asset creation.
TaurusX supports two promotion objectives:
- App Promotion: Aimed at driving app installs and activations.
- Web Promotion: Aimed at web-based conversions such as registrations, lead collection, or purchases (supports Pixel and API events).
Step 2: Name Your Campaign
Campaign names are user-defined and help identify delivery tasks.
- Campaign names must be unique within the same ad account.
- It’s recommended to follow a naming convention, e.g.,
Region-Objective-Datefor easier management.
Step 3: Set Campaign Budget
Campaign budgets control overall spending and can be flexibly configured:
- Unlimited Budget (budget switch off): No restriction at campaign level; budget is controlled at the ad group level.
- Daily Budget / Total Budget (budget switch on): Spending is limited by the set daily or total amount.
WARNING
Daily and total budgets take effect jointly. Once either limit is reached, all ads under the campaign will stop.
II. Create an Ad Group
An Ad Group is the second level of the ad structure and allows for more refined targeting and bidding strategies.
TIP
- If no campaign exists yet, create one first.
- If a campaign already exists, you can choose “Select from existing” when creating an ad group.
Ad group setup includes:
- Ad group name
- Promotion target (app or web)
- Objective and billing method
- Audience targeting
- Budget and schedule
- Bidding strategy
- Tracking link configuration
Step 1: Name Your Ad Group
Choose a recognizable name for your ad group. Ad groups are key dimensions in performance reporting and attribution. A structured naming style (e.g., Region-Audience-Creative) is recommended.
Ad group names must be unique within the same campaign.
Step 2: Choose Promotion Target (App or Web)
- App Promotion: Select the app you want to promote.
- Web Promotion: Select an existing Pixel or API event and configure it as the optimization event.
If no assets have been created yet, click “Create New” to go to the asset creation page.
WARNING
Once created, the promotion target cannot be changed.
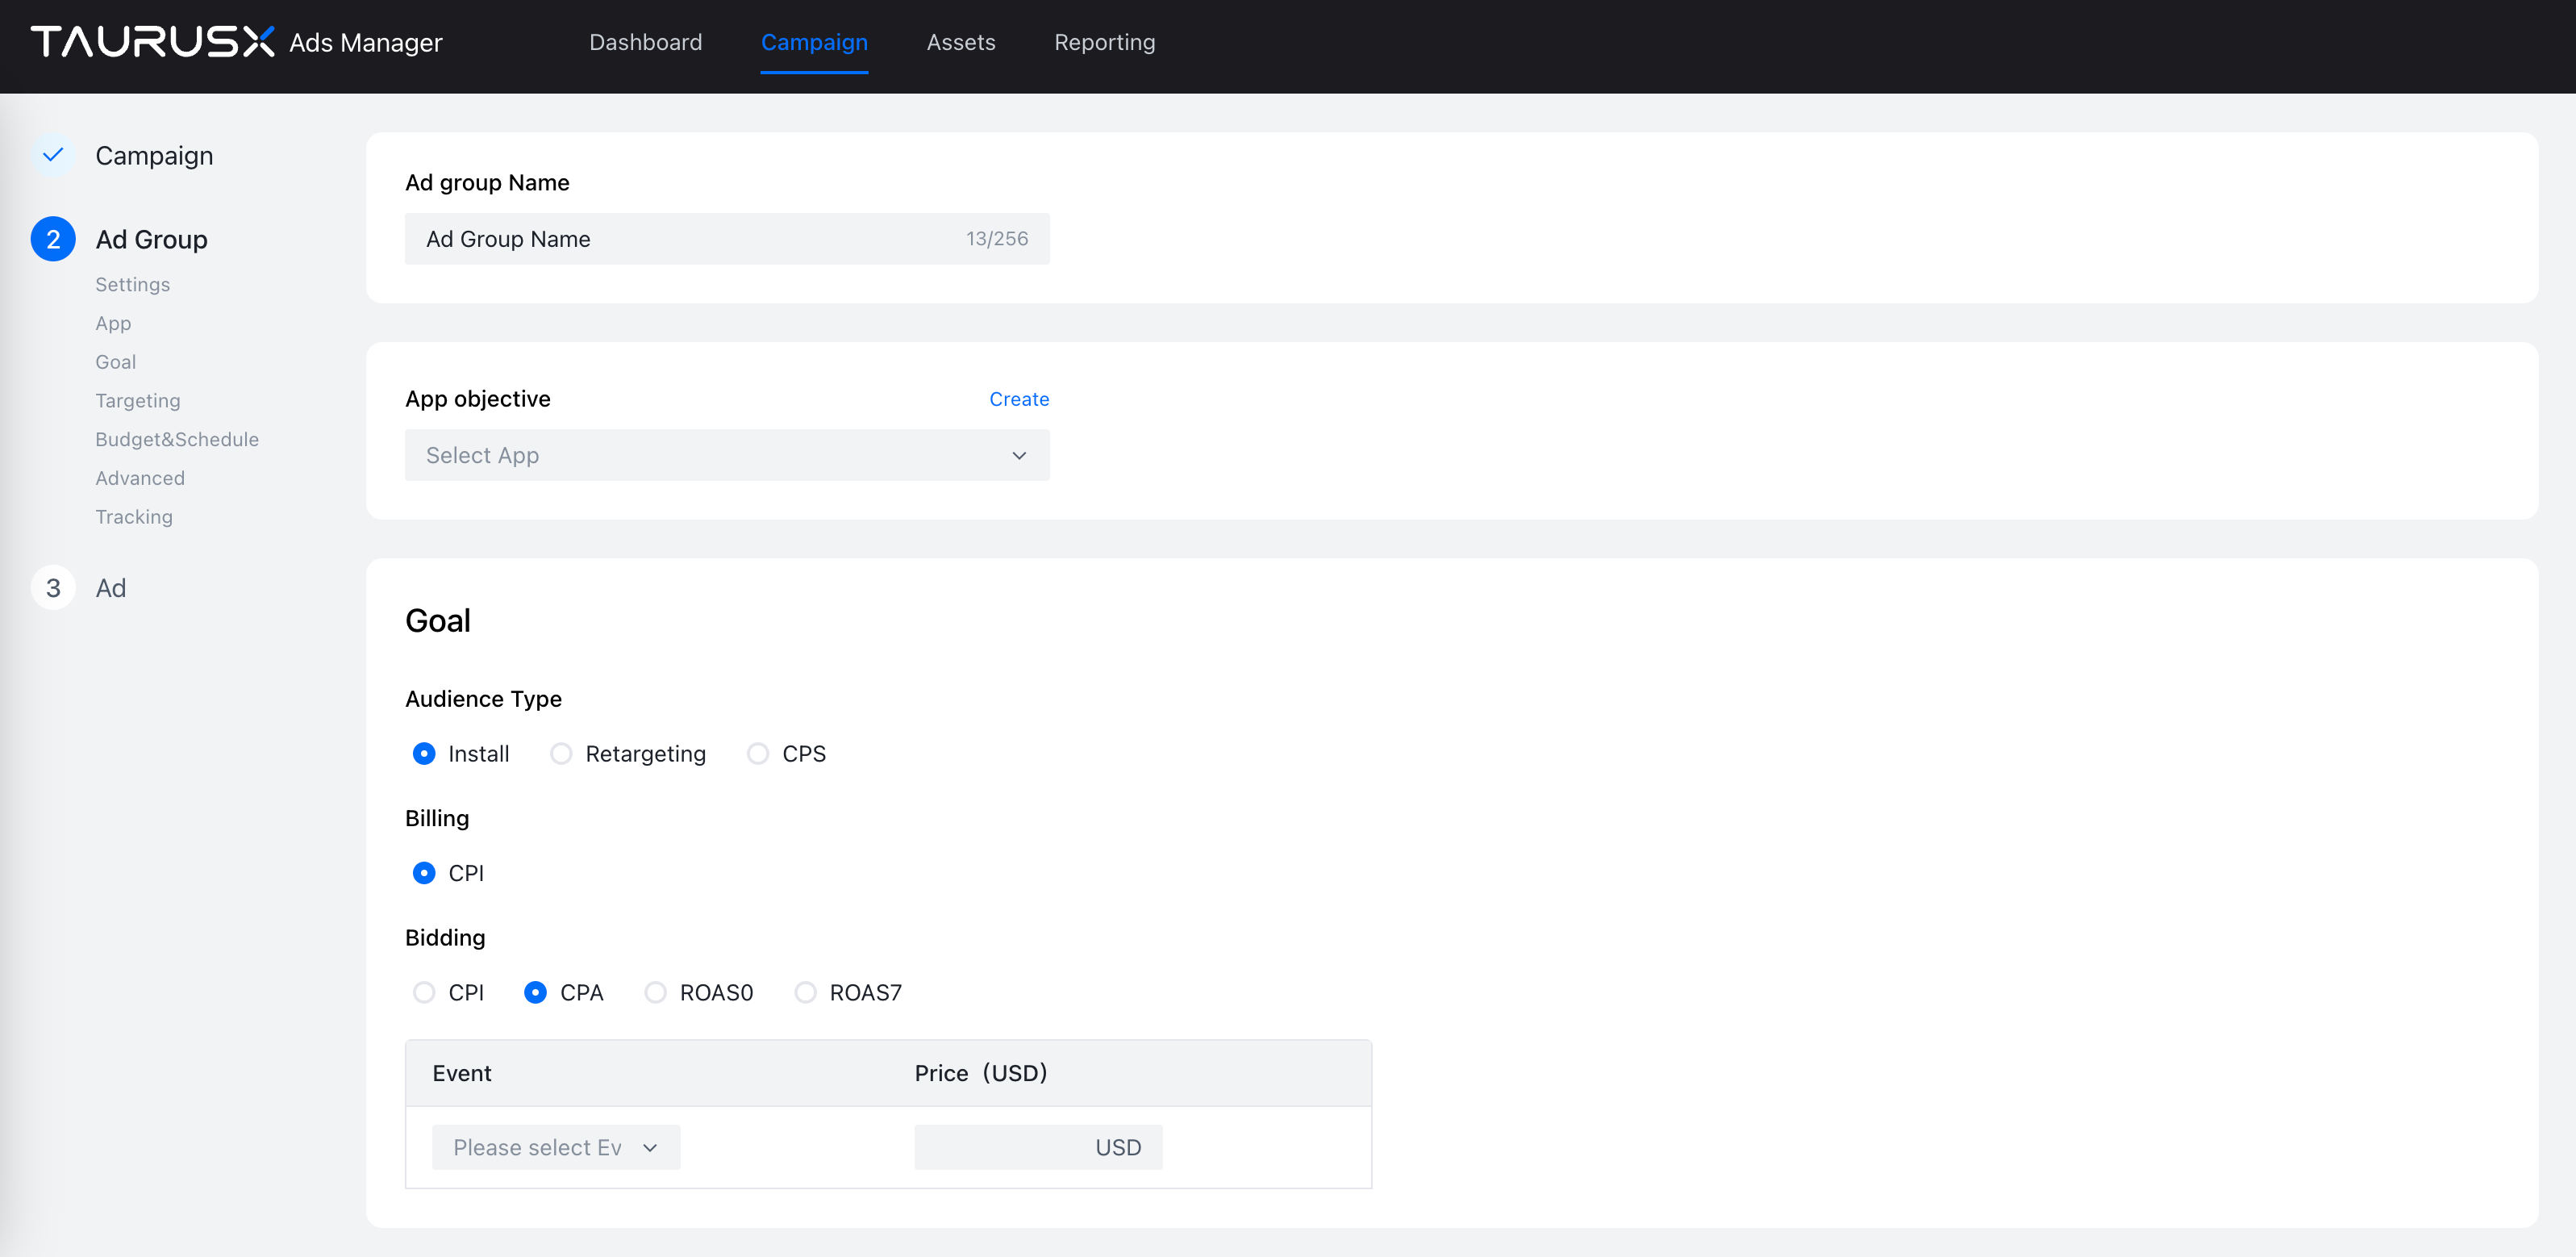
Step 3: Set Objective & Bidding Strategy
TaurusX supports the following billing and bidding options:
Billing Methods:
- CPM: Cost per 1000 impressions.
- CPA: Cost per action/conversion.
Bidding Strategies:
- CPI: Cost per install.
- CPA: Cost per custom event (must be preconfigured).
- ROAS / ROAS0 / ROAS7: Based on return on ad spend over different time windows.
💡 For CPA bidding, ensure the event is properly set up during asset creation.
Step 4: Configure Targeting
Use targeting to control your audience and improve delivery precision:
- Geo: Country, region, city, language.
- Audience Lists: Upload GAID lists in CSV or TXT format, or sync audiences from Appsflyer.
- Device Attributes: OS, device model, OS version, network type.
- Traffic Sources: Select from available media placements.
WARNING
Audience files may contain sensitive information. Do not download or share them without proper authorization.
Step 5: Set Budget & Schedule
You can define:
- Budget Type: Total or daily budget.
- Schedule: Set a delivery time range or choose ongoing delivery.
- Time Slots: Choose specific hours within a day (e.g., only serve ads from 9:00 to 18:00).
📌 If both campaign-level and ad group-level budgets are set, whichever hits the cap first will cause ads to stop.
Step 6: Set Tracking Links
Use tracking URLs to measure ad performance:
- Click Tracking URL: Used for primary attribution tracking.
- Impression Tracking URL: Helps measure ad exposure and support attribution analysis.
- Landing Page URL: Required only for web promotion. This is the URL users visit after clicking the ad.
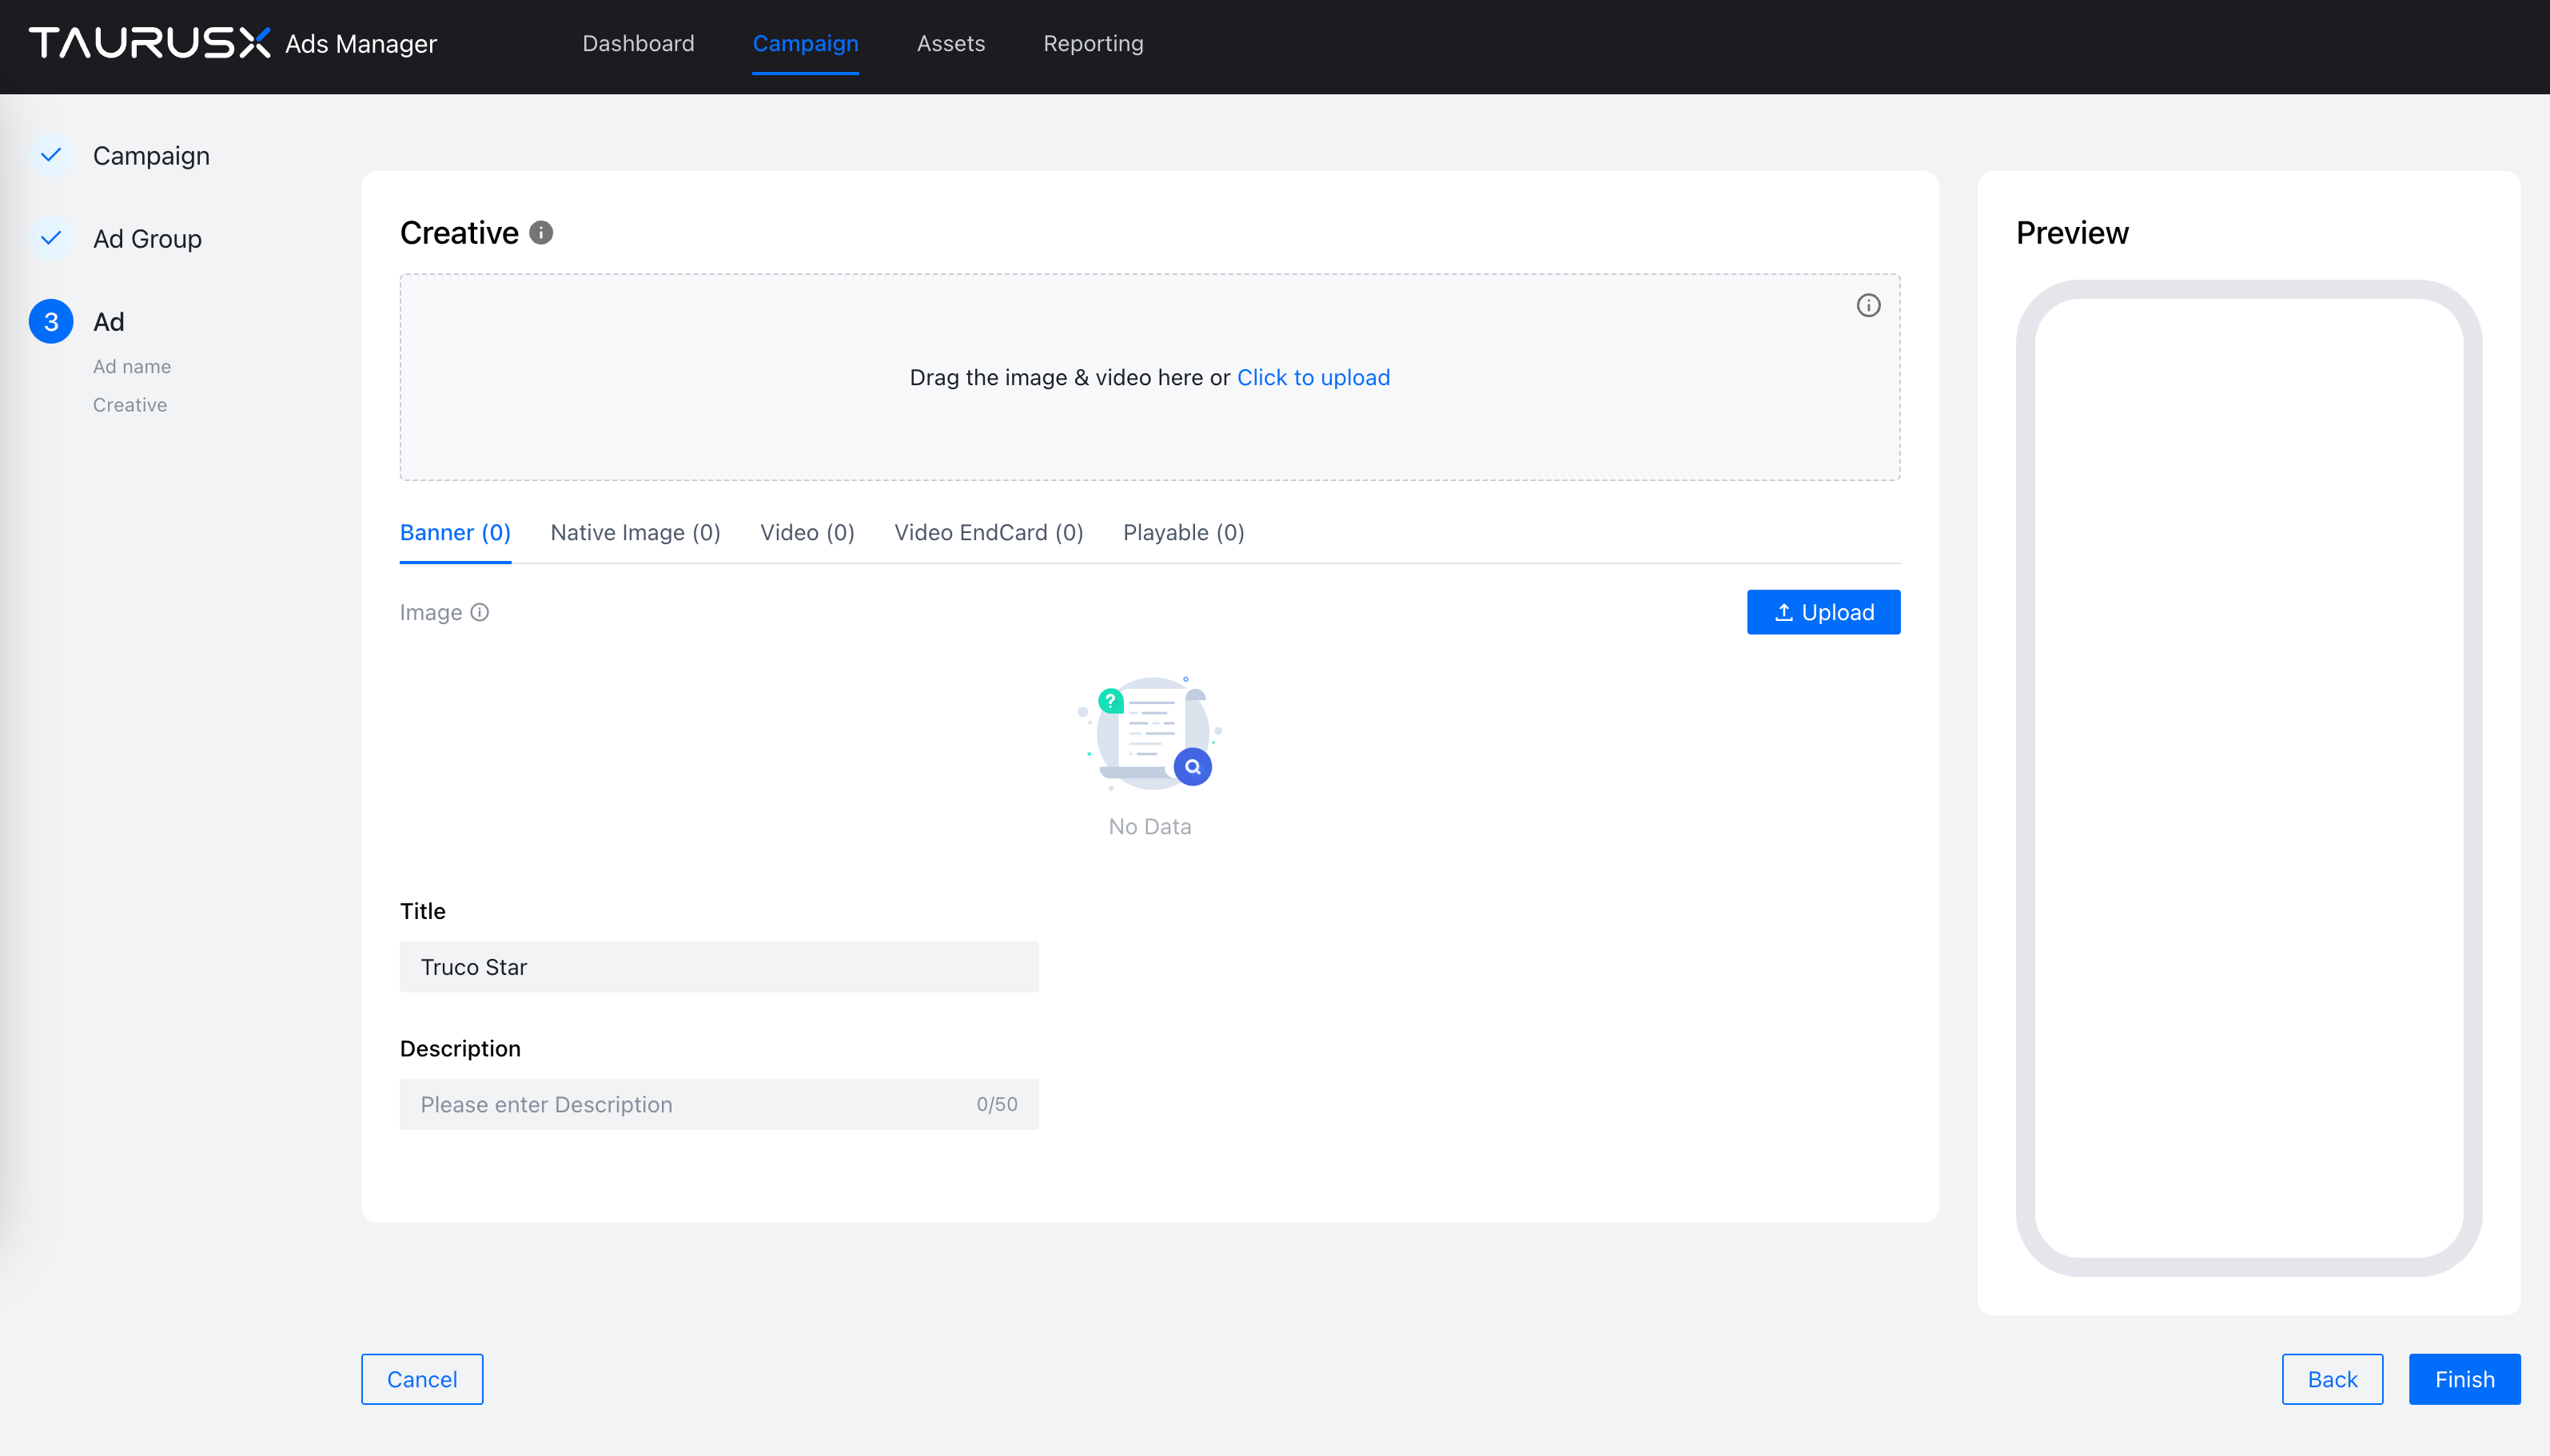
III. Set Up Ad Creatives
Ad creatives are the content that users see. TaurusX supports five formats:
Banner, Native, Video, Video EndCard, Playable
Step 1: Ad Name
- Ad names are auto-filled based on selected creatives and cannot be customized.
- Used only for internal management and not shown in the actual ads.
Step 2: Upload & Edit Creatives
- Creative Assets: Upload images or videos. At least one asset is required.
- Title/Description: Displayed with your creative; highlight key selling points.
Creative Upload Tips:
- Upload at least two creatives to allow for rotation and optimization.
- To improve conversion rates, include an EndCard with video ads.
Once all settings are complete, preview the final creative in the preview panel and submit the ad for delivery.